A Common Mistake-Choose The Right Solar Panel Extension Cable
- Kanyarugano tanguy nolain
- Sep 15, 2025
- 6 min read

Part 1: The Core Issue—Why a “Common Mistake” Can Cause Severe Damage to Solar Panel Extension Cables

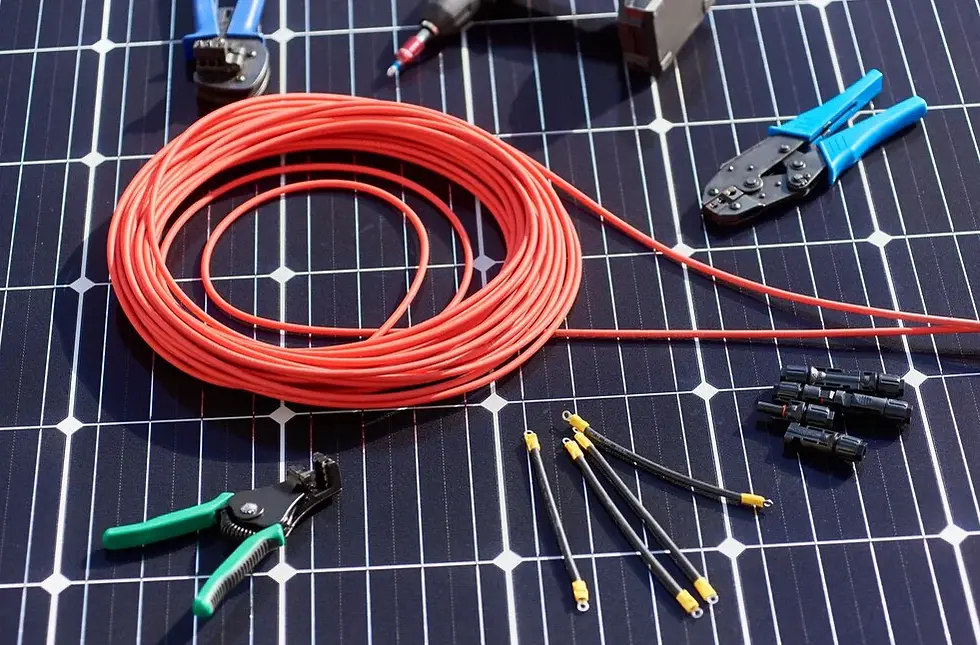
The Hidden Dangers in an Ordinary Solar Panel Extension Cable
When electricity flows from a solar panel to a charge controller or inverter, it passes through the solar panel extension cable—but this path is not without risk. Every conductor has electrical resistance, which converts some power into heat, causing energy loss. This voltage drop is one of the most common reasons DIY solar setups underperform. Choosing a high-quality solar extension cable or photovoltaic extension cable can significantly reduce energy loss and improve system efficiency.
If the resistance in a solar power cable is too high, it can overheat, melt, or even ignite, turning a minor inefficiency into a serious safety hazard. A reliable PV extension wire ensures that electricity flows safely from your solar panels to inverters or charge controllers.
The main failure points in a solar cable setup include:
Selecting the wrong cable size (gauge): Using an undersized solar panel extension cable can increase resistance and voltage drop.
Using low-quality materials: Cheap solar extension cables or connectors may degrade quickly, reducing performance.
Employing incompatible connectors: Mismatched photovoltaic extension cables can cause poor contact and energy loss.
Improper installation and cable management: Poor routing of solar power cables can create hotspots and safety risks.
Even minor mistakes in these areas can cascade into bigger problems, compromising safety and system longevity. Investing in the right PV extension wire and following proper installation guidelines ensures a safe, reliable, and long-lasting solar power system.

Mistake 1: Ignore voltage drop and power loss in solar extension cables
Understanding Voltage Drop in Solar Systems and How to Prevent It Voltage drop is the loss of electrical potential as current flows through a wire. To visualize this, imagine electricity as water flowing through a pipe:
Voltage = water pressure
Current = water volume
If the pipe is too long or too narrow, water pressure drops at the end. Similarly, a long or thin solar panel extension cable or PV extension wire reduces the voltage reaching your device, limiting your solar panel’s efficiency.
This is especially critical in low-voltage DC systems (12V or 24V), commonly used in RVs, vans, off-grid cabins, or small residential solar setups. Using a high-quality solar extension cable or photovoltaic extension cable ensures electricity flows efficiently from your panels to charge controllers or inverters.
Power equation: P = V × IPower loss equation: P_loss = I² × R
Lower voltage systems require higher current, which increases power loss quadratically. For example, a 12V system with a long, undersized solar power cable can lose far more energy than a 48V system using a similar PV extension wire. Proper cable selection and installation are essential for system efficiency and safety.
Key Points to Prevent Voltage Drop
Keep cable runs as short as possibleShorter runs reduce energy loss. For longer distances, consider solar panel extension cable 10m, 20m, or 50ft options designed for minimal voltage drop.
Choose the right cable gaugeSelecting the correct wire size is critical. A heavy duty solar extension cable or flexible PV extension wire can handle higher current and reduce overheating risks.
Use quality connectorsAlways use reliable connectors, such as solar panel extension cables with MC4 connectors, to maintain low-resistance connections and prevent energy loss.
Protect against environmental factorsFor outdoor solar setups, use waterproof solar panel extension cables or outdoor solar extension cables to prevent degradation from UV, rain, or dust.
Check compatibilityEnsure your solar extension cable or photovoltaic extension cable matches your system voltage and inverter requirements.
Choosing the Best Solar Panel Extension Cable

When selecting the best solar panel extension cable for installers, prioritize:
High-quality solar power cable materials for durability
Flexible PV extension wire for easier routing in tight spaces
Proper insulation and waterproof rating for outdoor installations
Compatibility with MC4 connectors for secure connections
By investing in the right solar panel extension cable and following proper installation practices, you can maximize efficiency, safety, and system longevity for any solar power system, whether it’s an RV, off-grid cabin, or commercial solar installation.
Part 2: Selecting the Right PV Extension Wire—From Gauge to Conductor
Mistake 2: Select photovoltaic extension cables for this project
Using standard household wire for outdoor solar applications is a critical mistake.
Why?
Solar cables (PV wire) are designed to withstand UV radiation, moisture, and temperature fluctuations.
Standard wires degrade outdoors, crack, and expose conductors, creating serious safety risks.
Demystifying Cable Specifications
Specification | What It Means | Why It Matters |
AWG (American Wire Gauge) | Measures wire thickness; smaller numbers = thicker wire | Thicker wires = less resistance, lower voltage drop |
Ampacity | Maximum current a wire can safely carry | Prevents overheating and potential fire |
Voltage Rating | Maximum voltage insulation can withstand | Ensures insulation doesn't break down |
Temperature Rating | Safe operating temperature range | Protects insulation in extreme climates |
Selecting the Right Material: Copper vs. Aluminum
Metric | Pure Copper | Aluminum |
Electrical Conductivity | Superior | 61% of copper |
Resistance | Low | High |
Flexibility | High | Low (stiff) |
Corrosion Resistance | Excellent | Poor |
Weight | Heavy | Lightweight |
Cost | High | Low |
Recommended Use | All solar applications | Large-scale, long-distance runs with careful planning |
Key Takeaways:
Copper is more efficient, flexible, and durable.
Aluminum requires larger gauge, careful handling, and maintenance.
Avoid copper-clad aluminum (CCA) for solar setups.
Stranded vs. Solid Core Wire
Solid wire: Single thick conductor; less flexible
Stranded wire: Multiple thin conductors; more flexible, better for rooftop or mobile installations
Recommendation: Use stranded copper wire for solar systems to ensure flexibility and durability.
Cable Gauge Selection Guide
AWG Gauge | Ampacity (90°C) | Max Length (12V @ 2% V-Drop) | Max Length (24V @ 2% V-Drop) | Max Length (48V @ 2% V-Drop) |
16 AWG | 25A | 2 ft | 4 ft | 8 ft |
14 AWG | 30A | 4.5 ft | 9 ft | 18 ft |
12 AWG | 40A | 7 ft | 14 ft | 28 ft |
10 AWG | 60A | 11.5 ft | 23 ft | 46 ft |
8 AWG | 80A | 18 ft | 36 ft | 72 ft |
6 AWG | 100A | 28 ft | 56 ft | 112 ft |
4 AWG | 135A | 45 ft | 90 ft | 180 ft |
2 AWG | 180A | 71 ft | 142 ft | 284 ft |
Part 3: The Connection Conundrum – Connectors and Polarity
Mistake 3: Mixing Incompatible or Low-Quality Connectors
The connector is the link that holds the solar system together.
MC4 connectors are the industry standard: male/female, snap-locking, waterproof, dust-resistant.
Using unbranded or "MC4-compatible" connectors can create high-resistance virtual connections, generating heat and fire hazards.
Connector Type | Common Use | Key Features | Compatibility Notes |
Residential & commercial | Secure, positive lock; IP67 waterproof | Industry standard, UL certified | |
Amphenol H4 | Harsh environments | High durability; higher current rating | Less common but quality choice |
Anderson | Portable solar kits | Quick, secure, low-voltage DC | Not for array-level wiring |
SAE | Small chargers | Simple, polarized | Lower current rating; portable use |
Mistake 4: Incorrect Polarity
Reversing polarity can cause:
System shutdown
Short circuits
Blown fuses or destroyed bypass diodes
Prevention: Use a multimeter to check polarity before final connection:
Positive reading → correct
Negative reading → reversed, fix immediately
Mistake 5: Poor Crimping and Loose Connections
Proper crimping ensures low-resistance, safe connections.
MC4 Crimping Steps:
Preparation: Strip 6–8mm of insulation
Crimping: Use a proper MC4 crimping tool
Assembly: Insert terminal into connector housing (hear a “click”)
Sealing: Hand-tighten cable clamp nut
Verification: Test continuity with a multimeter
Avoid using pliers, as this can damage strands and create overheating risks.
Part 4: Installation Best Practices and Long-Term Safety
Mistake 6: Bad Cable Management
Poor cable management creates hazards:
Physical abrasion
Sharp bends causing internal wire damage
UV degradation
Rodent damage
Professional cable management tips:
Route cables along panel edges
Secure every 4–6 feet
Use UV-stabilized clips or stainless steel hangers, not standard zip ties
Leave a service loop for thermal expansion
Consider conduits or cable trays for extra protection
Real-World Cautionary Tales
Overheating from undersized wires
Melting plastic from loose connections
Inverter or battery damage from incorrect wiring
Maintenance and Troubleshooting
Conduct annual visual inspections
Look for: reduced output, excessive heat, burn marks, melted plastic, corrosion
Use a professional if issues are beyond your expertise
Conclusion: Your Path to a Safe and Efficient DIY Solar Project
Investing in high-quality, purpose-built cables and connectors is essential for:
Efficiency
Longevity
Safety
Understanding voltage drop, choosing the right cable material and gauge, using certified connectors, and following proper installation practices transforms a simple purchase into a strategic decision that ensures a reliable and long-lasting solar system.


Comments